Sunrise Homes & Renovations, Inc.

  • Home
  • About
    • About Us
    • Recognition
      • Disaster Contractors Network
      • US EPA Certified
    • Accessibility Statement
  • Example Models
  • Renovations
  • Resources
    • First Time Home Buyer Tips
    • First Time Home Seller Tips
  • Blog
  • Contact

Should You Sell Your Home As-Is or Invest in Repairs?

December 11, 2024 by Rhonda Costa

When preparing to sell your home, one critical decision you’ll face is whether to sell it as-is or invest time and money into repairs and updates. The right choice depends on your unique situation, but understanding the implications of each approach can help you make an informed decision.

The Current Market Landscape

According to a study by the National Association of Realtors (NAR), 61% of home sellers completed at least minor repairs before listing their property. On the other hand, 39% opted to sell their homes as-is. This suggests that while many sellers see the value in sprucing up their homes, a significant portion decides against it due to constraints like time, resources, or personal circumstances.

What Does Selling As-Is Mean?

Selling a home as-is indicates that you won’t be making any repairs before the sale, nor will you entertain post-inspection fixes. Essentially, it’s a “what you see is what you get” transaction.

This option offers convenience and can reduce the stress associated with preparing a home for sale. However, it’s important to recognize the trade-offs:

  • Fewer Buyers: Many buyers seek move-in-ready homes and might shy away from properties requiring immediate repairs or updates.
  • Lower Offers: Homes in need of work often fetch lower sale prices, as buyers factor in the costs and effort of renovations.
  • Longer Time on the Market: Limited buyer interest can lead to extended timeframes for selling your property.

That said, today’s market conditions present an interesting opportunity. With affordability challenges and inventory still below historical norms, 56% of buyers surveyed say they’re open to purchasing homes that need work. For these buyers, the chance to customize a home to their liking is worth the effort.

The Benefits of Making Repairs

Homes that are well-maintained and updated tend to attract more interest, sell faster, and command higher prices. Investing in repairs doesn’t mean you have to undergo major renovations. Small updates, such as fresh paint, minor landscaping, or fixing visible issues, can make a big difference.

Here are some common upgrades that deliver a strong return on investment:

  • Painting walls in neutral colors.
  • Repairing or replacing worn-out flooring.
  • Updating light fixtures or faucets.
  • Enhancing curb appeal with basic landscaping.

These improvements can help your home stand out in a competitive market, appealing to buyers who prefer a turnkey property.

How a Real Estate Agent Can Help

Navigating the decision to sell as-is or after repairs is easier with the guidance of a professional real estate agent. An experienced agent will:

  • Provide a market analysis to determine how your home compares to similar properties in your area.
  • Help you understand the potential return on investment for any repairs or upgrades.
  • Offer insights into buyer preferences and market conditions in your local area.
  • Strategize an effective marketing plan to highlight your home’s strengths, regardless of its condition.

For homes sold as-is, we will emphasize features like location, size, or layout to ensure buyers see the property’s potential, not just its challenges.

Selling a home as-is or making repairs each comes with advantages and challenges. The right choice depends on your goals, resources, and timeline. To ensure you’re making the best decision for your situation, give us to call so we can provide tailored advice and support. By carefully weighing your options, you can navigate the selling process with confidence.

Filed Under: Home Care Tips Tagged With: As Is Sale, Home Selling, Real Estate Tips

Top 5 Tips to Efficiently Conserve Heat in Cooler Weather

December 10, 2024 by Rhonda Costa

As the temperatures drop, keeping your home warm without drastically increasing your energy costs is a priority for many homeowners. Fortunately, there are simple yet effective strategies that can help you conserve heat while enhancing your home’s energy efficiency. By following these tips, you can maintain a comfortable indoor temperature, reduce your heating bills, and do your part to minimize your environmental impact.

1. Seal Doors and Windows

One of the easiest and most effective ways to conserve heat is by preventing drafts at entry points. Gaps around doors and windows are prime culprits for heat loss, allowing warm air to escape and cold air to enter. Start by applying weatherstripping around doors and windows to create a tight seal. For any noticeable cracks, use caulking to fill in the gaps. This simple step ensures that warm air stays inside and cold air stays out, helping to maintain a consistent temperature in your home. Sealing entry points is an affordable way to improve energy efficiency and prevent heat from slipping away unnoticed.

2. Optimize Ceiling Fans for Winter

Ceiling fans are often thought of as summer appliances, but they can also be incredibly useful during colder months. By simply adjusting the direction of your ceiling fan blades, you can enhance the distribution of warm air throughout the room. Set the fan to rotate clockwise on a low speed. This motion pushes the warm air that naturally rises to the ceiling back down to the living space, evenly distributing heat throughout the room. This reduces the need to turn up the thermostat, helping you save energy without sacrificing warmth.

3. Invest in Thermal Curtains

Windows are another area where heat loss is common, especially if your home has older or single-pane glass. A practical solution is to invest in thermal or insulated curtains. These curtains are designed to trap heat inside and prevent it from escaping through the windows. During the day, open the curtains to let natural sunlight warm your space. At night, close them to create an extra barrier between the cold air outside and the warmth inside. The added insulation from thermal curtains can make a noticeable difference in maintaining a cozy indoor temperature while reducing the workload on your heating system.

4. Close Off Unused Spaces

If you have rooms in your home that are not in use, it’s a good idea to close the doors to those spaces to conserve heat. When heat is being distributed throughout the house, your heating system works harder to maintain the temperature in every room, even those that aren’t being used. By closing off unused spaces, you effectively reduce the areas that need to be heated, allowing your system to work more efficiently. Additionally, placing draft stoppers at the bottom of doors helps block cold air from entering, further boosting your energy savings.

5. Leverage Solar Heat During the Day

One of the best ways to heat your home naturally is by taking advantage of the sun. On sunny days, open your blinds and curtains to let the sunlight stream into your home. The sun’s rays will naturally raise the temperature of your living spaces, reducing the reliance on artificial heating. After the sun sets, make sure to close the curtains to keep the warmth inside. This simple method, known as passive solar heating, can help lower your heating costs and create a more sustainable home environment.

Conserving heat during the cooler months is all about being strategic and mindful of the energy you’re using. By sealing doors and windows, optimizing ceiling fans, investing in thermal curtains, closing off unused spaces, and utilizing solar heat, you can make your home more energy-efficient and cost-effective. These easy-to-implement tips will help you stay warm, save money, and contribute to a more sustainable living environment.


Filed Under: Home Care Tips Tagged With: Energy Efficiency, Home Heating, Sustainable Living

Tips for Preventing Water Damage in Your Home

November 29, 2024 by Rhonda Costa

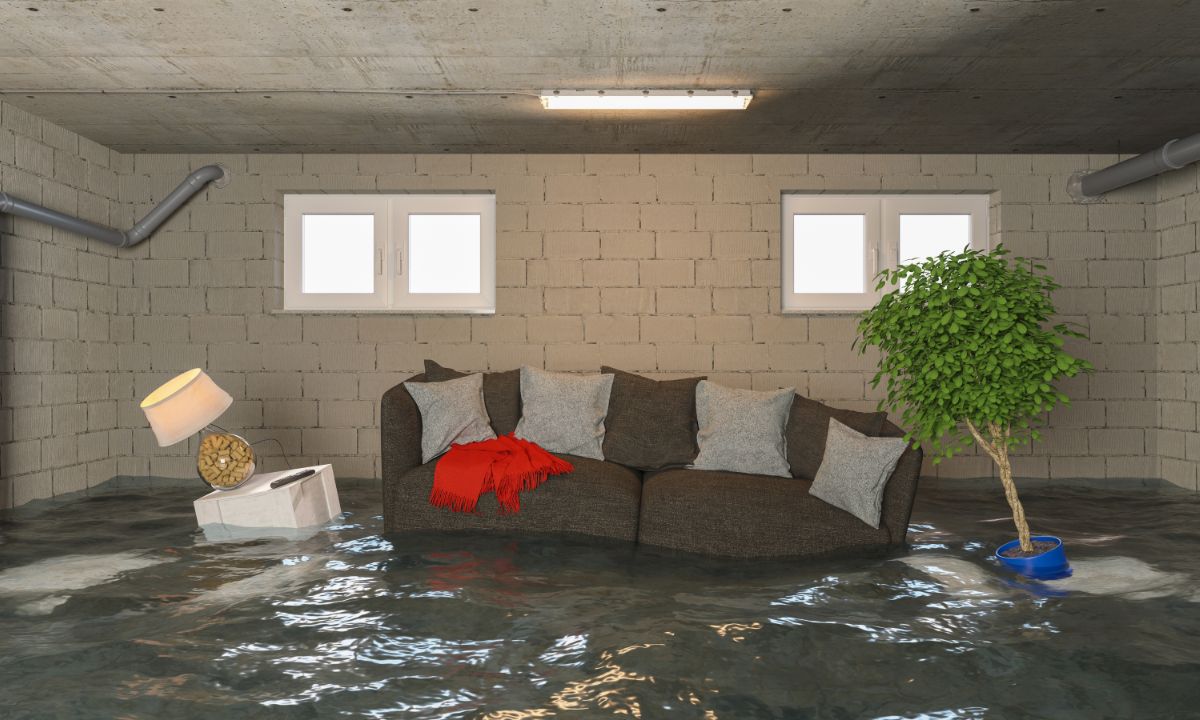
As a homeowner, protecting your property from water damage is essential to maintaining your home’s value. Water is one of the most destructive forces that can affect your home, but with a little proactive care, you can significantly reduce the risk of costly repairs. Here are some practical tips to help you prevent water damage and keep your home in top condition:

1. Watch for Early Signs of Water Damage
Catching water damage early can save you a lot of trouble down the line. Keep an eye out for light brown stains or soft spots on your walls and floors, especially around bathrooms, kitchens, and laundry rooms. If you notice discoloration, mold, or areas that sink in when touched, these could be signs of leaking pipes or appliances. A sudden drop in water pressure or a spike in your water bill can also indicate hidden leaks. Act quickly to address these issues before they become major problems.

2. Strengthen Your Water Supply Lines
Over time, the water supply lines connected to appliances like washing machines and refrigerators can weaken and rupture. To avoid water damage from these sources, consider upgrading to steel-coated supply lines, which are more durable and resistant to leaks. This simple upgrade can help safeguard your home from unexpected water issues.

3. Maintain Your Drains
Clogged drains are a common cause of water backup and flooding. Regularly clean your drains to prevent blockages, and avoid using harsh chemical drain cleaners, as they can damage your pipes. Instead, use a plumbing snake to clear any debris. Be sure never to pour grease down the drain, as it can harden and create a buildup that leads to costly blockages. Installing a backwater valve can also help prevent sewage from backing up into your home.

4. Upgrade Your Plumbing
If you have old, rusty pipes in your home, it may be time for an upgrade. Consider replacing metal pipes with modern materials like cross-linked polyethylene (PEX) tubing, which is more durable and less likely to leak. Additionally, consider installing leak detection technology that can alert you to issues with your water pressure or plumbing system via your smartphone.

5. Install and Maintain a Sump Pump
If you live in a flood-prone area or have a basement that is susceptible to water damage, a sump pump is an essential tool. This device helps pump excess water out of your basement and away from your foundation. If you already have a sump pump, make sure it is in good working order and replace it if necessary. Regular maintenance can prevent the pump from failing during a heavy rainstorm.

6. Re-caulk Around Windows and Doors
Water can sneak into your home through small gaps around windows and doors. Regularly inspect and re-caulk these areas to ensure a tight seal. This is particularly important around sinks, showers, and bathtubs, where water exposure is frequent. Remove old caulk before reapplying to ensure the best seal.

7. Check Your Roof and Gutters
A leaky roof is one of the most common causes of water damage. Inspect your roof regularly for damaged or missing shingles, and check for debris like leaves that could create weak spots or clog drainage systems. Keep your gutters clean to ensure rainwater is directed away from your home’s foundation. Ice dams in colder climates can also cause serious damage, so be sure to remove any buildup.

8. Landscape to Protect Your Foundation
Strategic landscaping can help prevent water from pooling around your foundation. Ensure that the soil around your home slopes away from the foundation to direct water away from the structure. Avoid planting trees too close to your home, as roots can cause cracks in your foundation, allowing water to seep in.
Water damage is preventable with the right care and attention. By staying vigilant and maintaining your home’s plumbing, roofing, and drainage systems, you can protect your home from water-related issues and preserve its value for years to come. If you need assistance with larger repairs or upgrades, consider exploring renovation financing options to help cover the costs.


Filed Under: Home Care Tips Tagged With: Home Maintenance, Protect Your Home, Water Damage Prevention

7 Tips for Pet-Proofing Your Home and Furniture

November 27, 2024 by Rhonda Costa

Living with pets brings endless joy, but it can also mean dealing with a few challenges, especially when it comes to protecting your furniture and home from potential damage. Whether you have a playful pup or an energetic cat, pet-proofing your living space is essential to keeping both your pet and your home in good shape. Here are seven practical tips to help you protect your floors, furniture, and belongings from pet mishaps.

1. Protect Your Floors
Pets, particularly puppies and kittens, can have accidents that damage flooring. Hardwood, tile, and carpet are all susceptible to stains and odors. To minimize the risk, consider using absorbent pads in spots where accidents have occurred. If you’re going to be away for a while, crate training or installing a smart pet door that allows your pet to go outside can be helpful. And don’t forget to keep a good-quality carpet cleaner on hand that eliminates odors and uses enzymes to neutralize stains.

2. Give Your Cat Something to Scratch
Cats have a natural instinct to scratch, and if you don’t provide an alternative, they’ll likely take it out on your furniture. Scratching posts can be a lifesaver. Try placing the post near your cat’s favorite scratching spot to make the transition easier. It’s also worth experimenting with different types of posts, including vertical and horizontal designs, or even climbing frames and perches, to see what your cat prefers.

3. Make Scratching a Sticky Situation
If your cat is particularly persistent about scratching your furniture, double-sided tape can be a game-changer. Cats dislike the sticky feeling on their paws, so this simple solution will encourage them to find other places to scratch—preferably on their scratching post!

4. Make Chewing Unappealing
Dogs love to chew, but that doesn’t mean your furniture should be their next target. To deter chewing, use bitter sprays specifically designed for this purpose, or try applying a bit of hot sauce or Tabasco to the item. The spicy sensation will make your dog think twice before gnawing on your shoes, furniture, or baseboards.

5. Try a Baby Gate
When you need to keep your pet away from certain areas, a baby gate can be an effective solution. Use gates to keep pets out of rooms with valuable furniture or holiday decorations. It’s also a great way to limit access to areas where your pet might get into trouble while you’re away.

6. Use Slipcovers
For homes with shedding pets or younger animals in training, slipcovers are a must-have. These washable covers protect your furniture from fur, dirt, and even accidents. Once your pet is fully trained, you can easily toss the slipcover and enjoy your furniture looking fresh and clean again.

7. Hide Cords and Remotes
Pet owners know that cords and remote controls are prime targets for chewers. Keep these items out of your pet’s reach by placing them on high shelves or storing them in drawers. For cords that are more exposed, consider using protective covers, or try applying bitter sprays or hot sauce to make them less appealing.

By taking proactive steps to pet-proof your home, you can enjoy the company of your furry friends without worrying about potential damage. With a little preparation and patience, you can create a pet-friendly environment that’s safe for your home and your pets.

Filed Under: Home Care Tips Tagged With: Home Protection, Pet Care Tips, Pet Proofing

Tips for Homeowners on Deep-Cleaning to Maintain a Sparkling Home

November 21, 2024 by Rhonda Costa

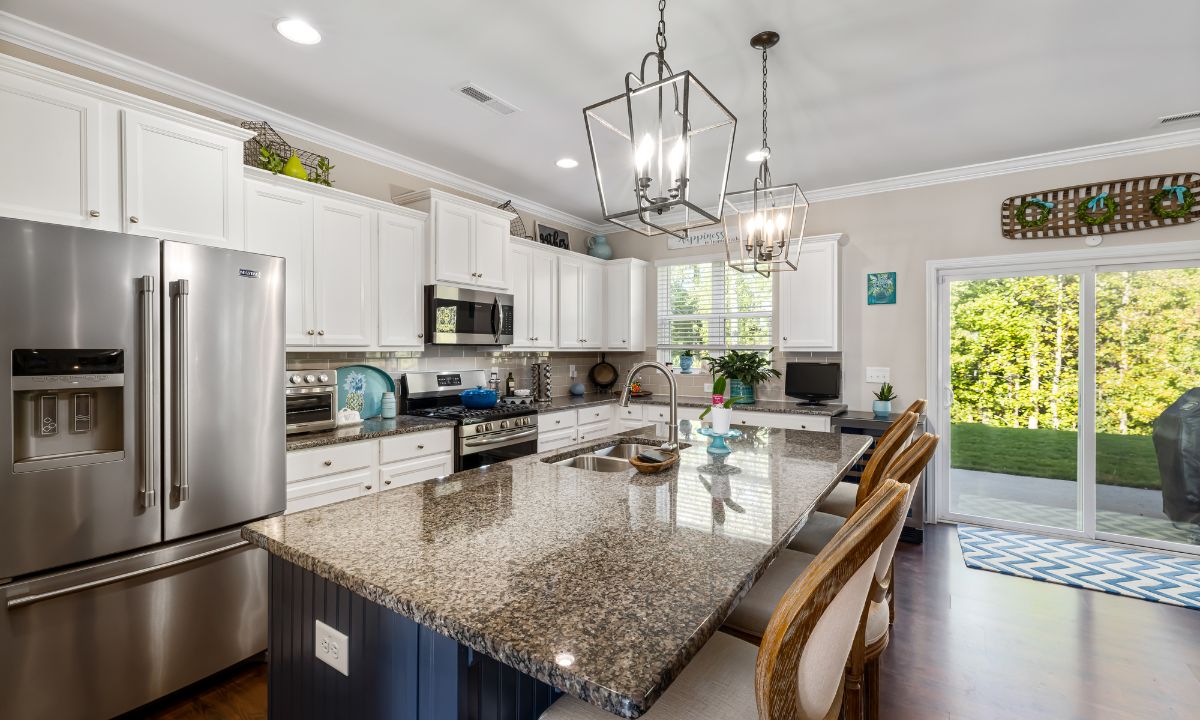
A clean, well-maintained home isn’t just visually pleasing—it’s an investment in the longevity and value of your property. If deep cleaning feels overwhelming, rest assured you’re not alone. Here are essential deep-cleaning strategies tailored to help you efficiently tackle the challenge and maintain a pristine living environment.

1. Make a List and Divide Tasks
The first step to a successful deep clean is having a clear plan. Start by listing every room in your home, including often-overlooked spaces like the garage, basement, and attic, or outdoor areas like patios. Within each room, outline specific tasks (e.g., dusting, mopping, organizing). This comprehensive master list serves as a guide and helps break the project into manageable chunks.
Next, distribute the tasks among family members if possible or schedule different tasks on various days to avoid burnout. The goal is to ensure steady progress without feeling overwhelmed.

2. Clean from Top to Bottom
Gravity plays a role in cleaning. Begin with high areas like shelves, light fixtures, and ceiling fans and gradually work your way down. This way, dust and debris that fall will land on surfaces yet to be cleaned, preventing double work. Organize your checklist from top-to-bottom tasks for each room for a more systematic approach.

3. Declutter First
Before you start scrubbing and wiping, tackle clutter. Go through each room and identify items you no longer use or need. Whether it’s clothing, books, or kitchen gadgets, anything that hasn’t been used in a year might need to go. Donate, gift, or recycle to create a cleaner, more manageable space. Decluttering makes cleaning easier and provides a fresh start for your space.

4. Don’t Overlook Screens and Windows
Cleaning screens and windows can transform the ambiance of your home by letting in more light and providing clearer views. While this is a labor-intensive task, the payoff is significant. Wash the screens and windows thoroughly, and don’t forget to clean the sills and tracks for a polished finish.

5. Pay Attention to Light Fixtures
Dust and grime can accumulate on light fixtures, dulling your home’s illumination. Take the time to remove and clean light fixtures in each room, washing and drying them before replacing them. A bright, clean fixture can drastically improve a room’s atmosphere.

6. Organize for Long-Term Efficiency
Deep cleaning is the perfect opportunity to get organized. Establish a system that works for each room—shelves for books, labeled bins for seasonal items, hooks for tools, etc. With everything in its place, daily tidying becomes a breeze, and clutter is less likely to accumulate.

7. Deep-Clean Kitchen Appliances
Your kitchen sees a lot of action and deserves extra attention. Thoroughly clean the oven, microwave, refrigerator, and other appliances. Remove shelves and drawers where possible to scrub away hidden grime. Regularly cleaning kitchen appliances keeps your space hygienic and extends their lifespan.

8. Take It Outside
Use a power washer to blast away accumulated dirt from your home’s exterior, driveway, porch, and deck. This simple step can breathe new life into your outdoor spaces and make your home’s exterior look fresh and new.

9. Make a Cleaning Routine
Deep cleaning shouldn’t be a once-a-year event. Incorporate regular maintenance tasks into your weekly schedule. This consistent effort keeps your home clean and cuts down the need for overwhelming deep cleaning. With a routine in place, any additional effort becomes far more manageable.

Deep cleaning may seem like an endless job, but with the right strategy, it becomes a fulfilling project that rejuvenates your living space. By creating a clear plan, starting with clutter removal, and consistently maintaining your home, you can enjoy a sparkling, inviting home year-round.

Filed Under: Home Care Tips Tagged With: Deep Cleaning, Home Care, Home Cleaning Tips

What Buyers and Sellers Need to Know About Lead Poisoning

October 15, 2024 by Rhonda Costa

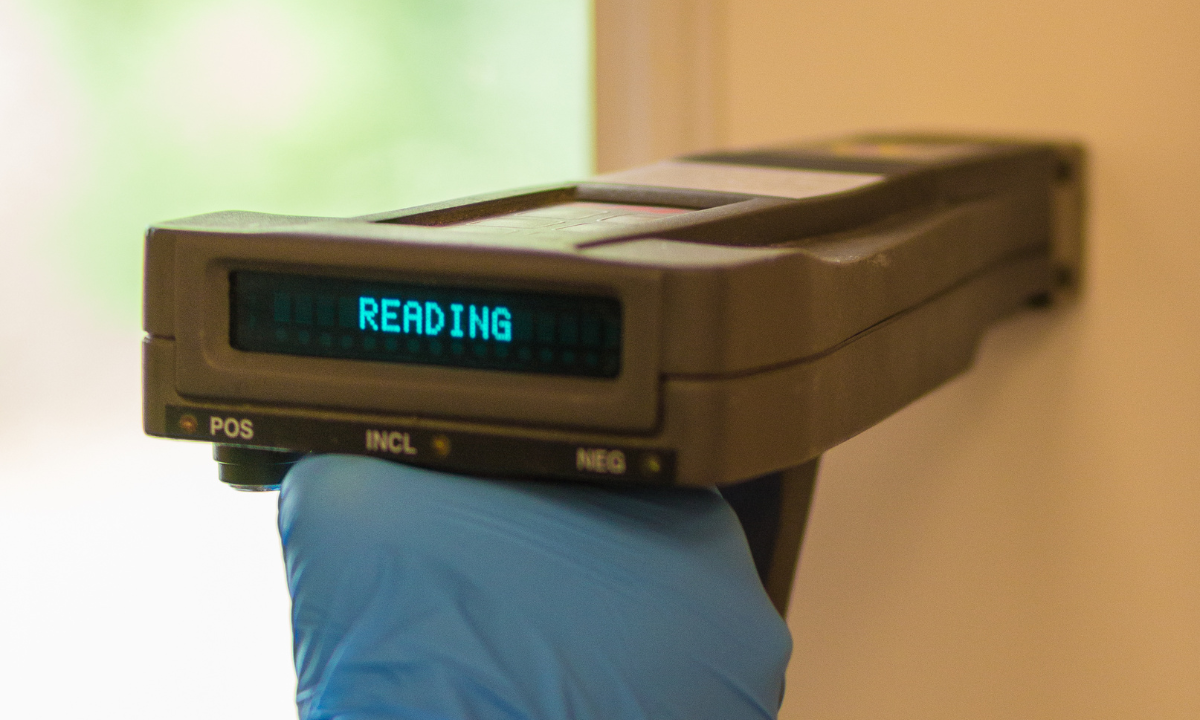
When it comes to buying or selling a home, there are many factors to consider, and one critical issue that sometimes gets overlooked is lead poisoning. Lead exposure, especially in older homes, can pose serious health risks to both children and adults. Here’s what you need to know as a buyer or seller and how it can impact your real estate transaction.

The Dangers of Lead Poisoning

Lead poisoning occurs when lead builds up in the body, often over months or years. It can lead to severe health problems, particularly for children, including:

  • Developmental Issues: High lead levels can affect brain development, leading to learning disabilities, behavioral issues, and slowed growth.
  • Hearing Problems: Exposure to lead may cause hearing difficulties in children.
  • Physical Symptoms in Adults: Adults can also experience complications, such as high blood pressure, muscle and joint pain, digestive issues, and memory or concentration problems.

Why Older Homes Are More at Risk

If you’re considering buying or selling a home built before 1978, it’s essential to be aware of potential lead hazards. Prior to 1978, lead-based paints were commonly used in residential properties. Over time, this paint can deteriorate, creating dust or chips that are harmful if inhaled or ingested.

Legal Requirements for Buyers and Sellers

To protect buyers, federal law mandates specific actions when selling homes built before 1978:

  • Disclosure Obligations: Sellers must provide any known information about lead-based paint hazards. This includes disclosing test results or past abatement efforts.
  • Federal Form Requirement: Sales contracts for older properties must include a federal form outlining information about lead-based paint. This ensures transparency and awareness.
  • Inspection Period: Buyers have up to 10 days to conduct a lead inspection or risk assessment. This is a crucial opportunity for buyers to negotiate repairs or mitigation efforts if hazards are found.

Protecting Your Family and Investment

For buyers, investing in an inspection is a smart move. Knowing the risks and any necessary remediation upfront helps you make an informed decision and potentially negotiate costs with the seller. For sellers, understanding and disclosing any lead-based paint hazards not only complies with federal regulations but also builds trust with potential buyers.

Whether you’re buying or selling a home, understanding the risks of lead poisoning and taking the proper steps can safeguard your health and investment. If you have questions about lead hazards or need guidance through the buying or selling process, reach out to your real estate agent. We’re here to help ensure you make informed, safe choices for you and your family.

Filed Under: Home Care Tips Tagged With: Home Buying, Home Selling , Lead Safety

  • 1
  • 2
  • Next Page »

Rhonda & Steve Costa

Rhonda & Steve Costa

Call (352) 398-6790
Sunrise Homes & Renovations, Inc.

Contractors License #CBC 1254207

Let’s Keep In Touch!

  • This field is for validation purposes and should be left unchanged.

Connect With Us on Social Media

Categories

Looking For Something?

Our Location


Spring Hill, FL 34608

Equal Housing Opp

Return to top of page

Copyright © 2025 Sunrise Homes & Renovations, Inc.. All rights reserved.   Log In